Create your properties and enter the units. This data is the basis for the rent roll, statements and reporting.
-
1
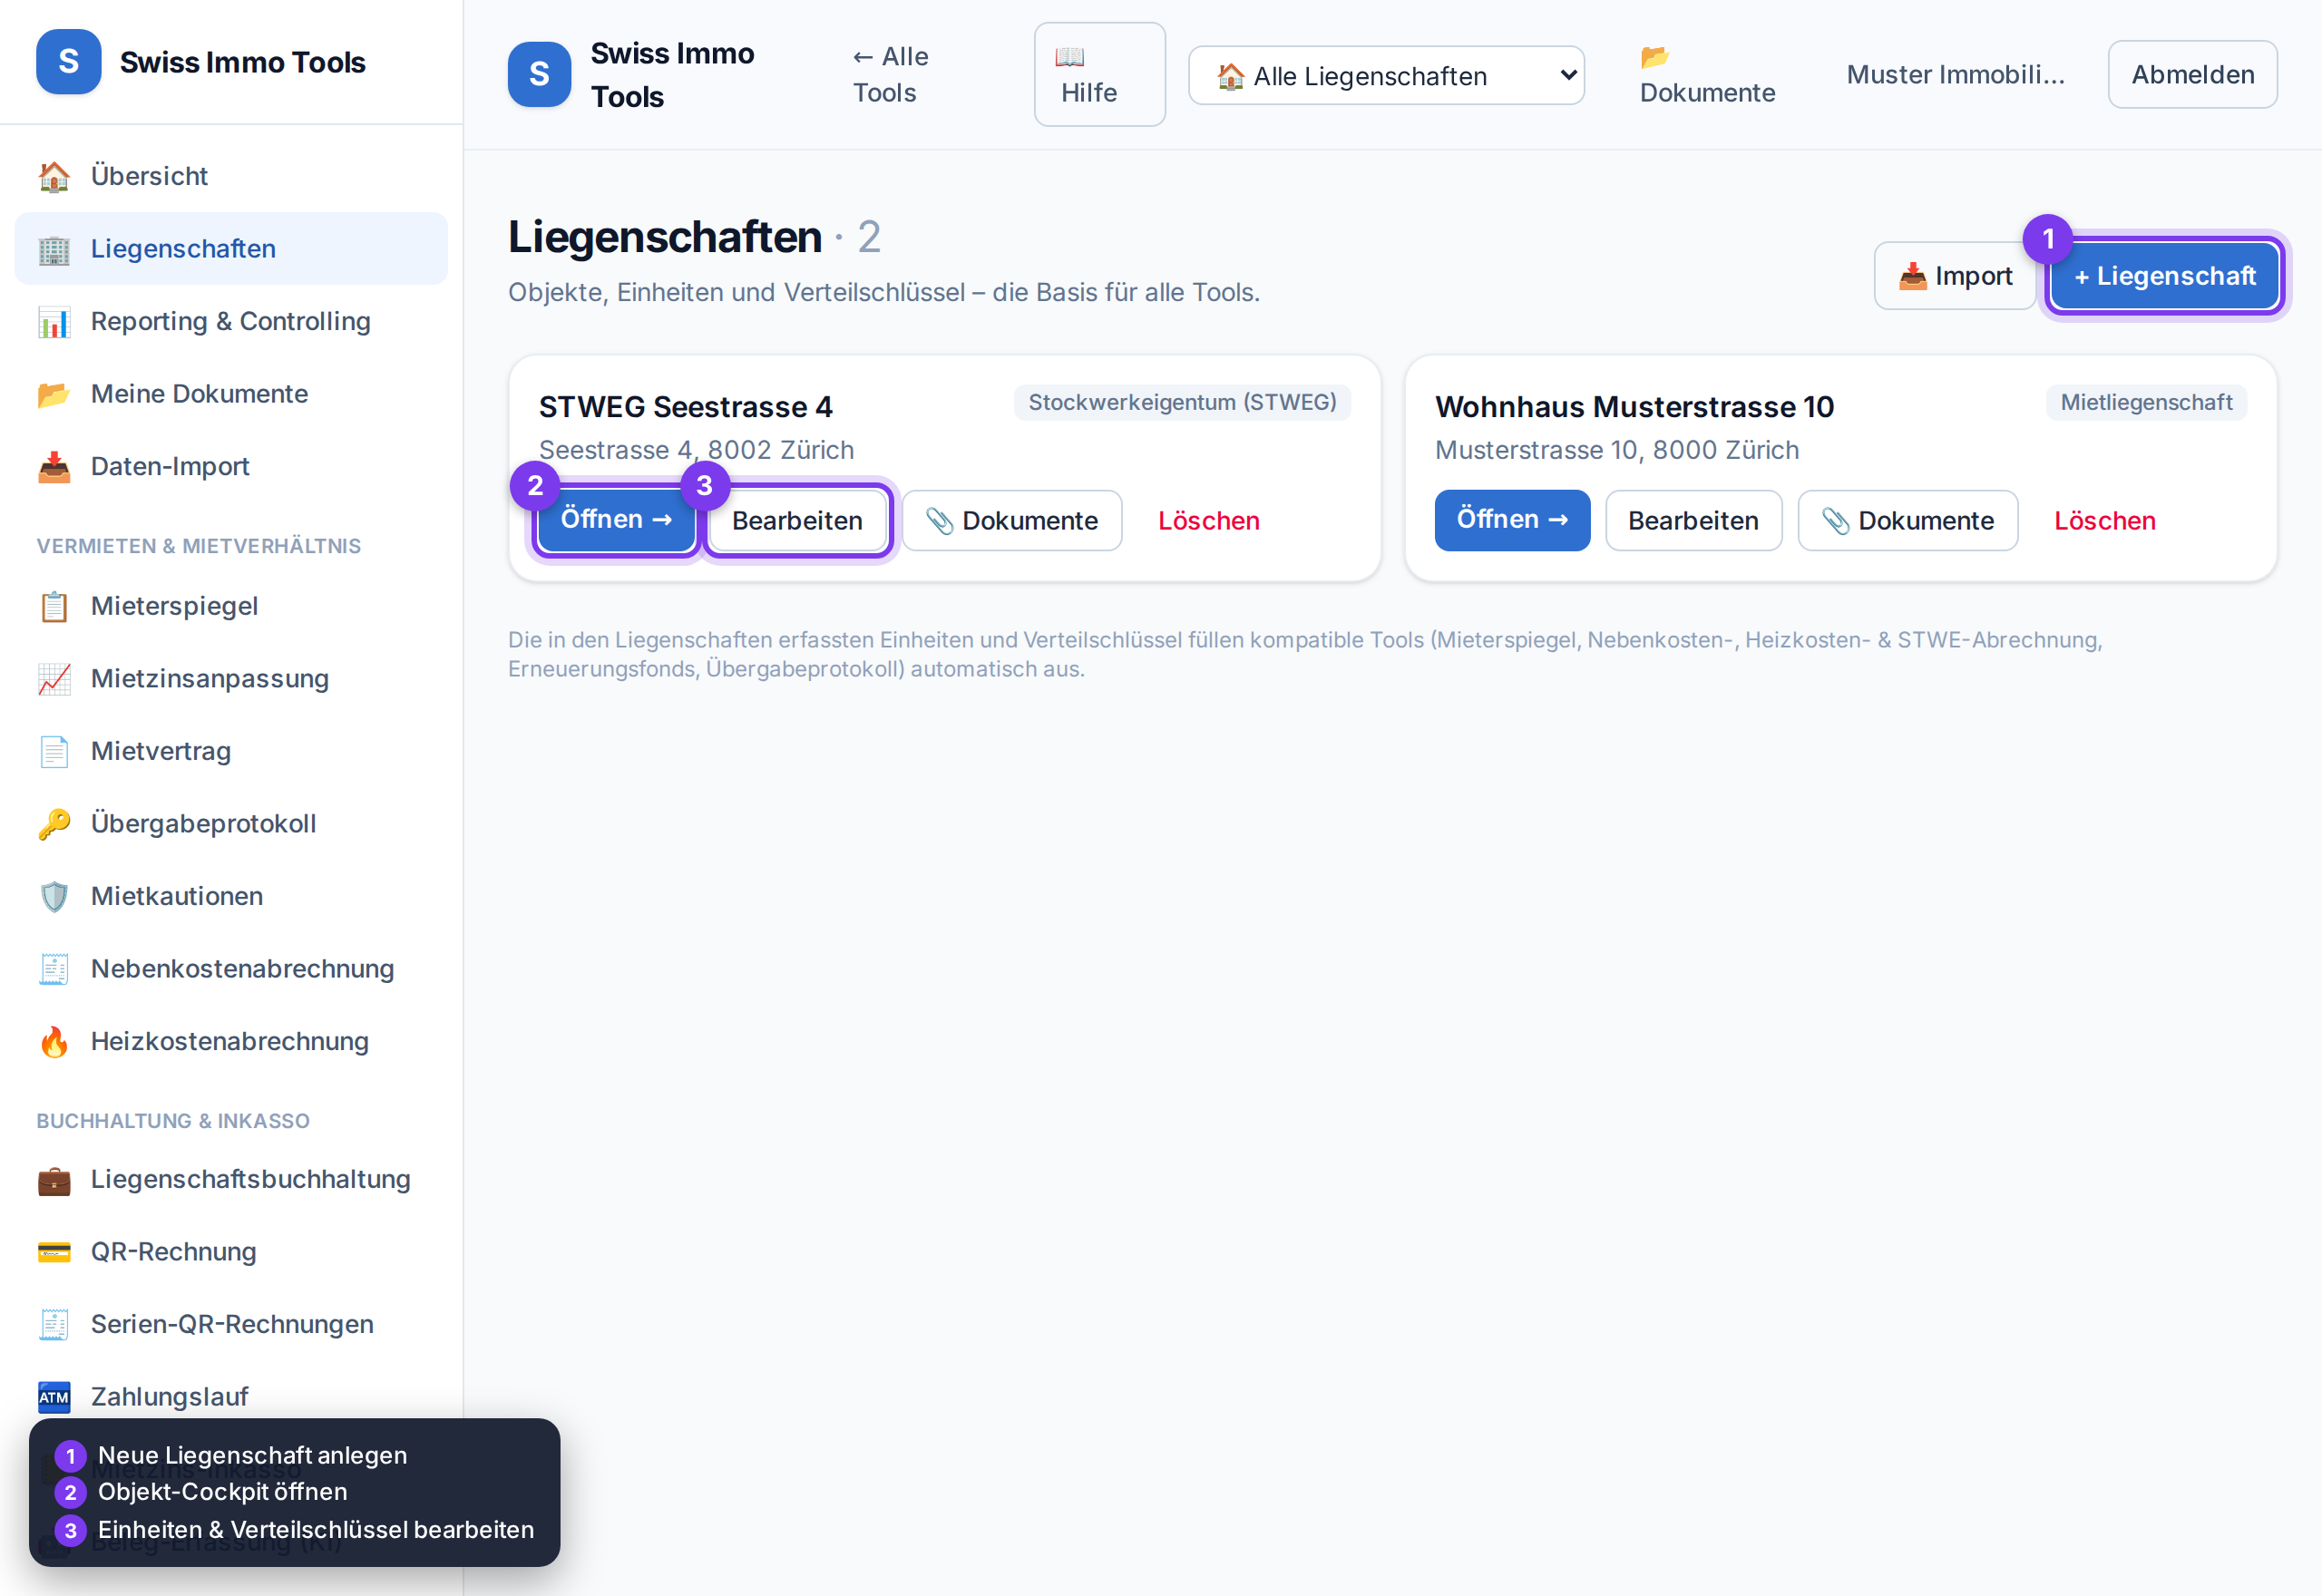
In the side menu open 🏢 Properties, then + Property — or 🧭 Set up with assistant: the setup assistant guides you page by page through everything a property needs (condominium or rental), in the right order, and shows at the end what is still missing. You can stop at any time; the property cockpit then shows Setup X of Y — Continue the assistant.
-
2
Choose name, address and type: rental property, condominium (STWEG) or owner-occupied home. The type determines the sensible allocation keys.
-
3
In the Units section, enter apartments/floors: area (m²), volume (m³), rooms, value quota ‰, persons, connections, net rent and owner/tenant.
-
4
Choose the object type for every unit: residential, commercial, condominium unit or secondary object (parking space, garage, hobby room, storage box). It determines whether the unit counts towards your plan allowance and whether it carries heating and service charges — secondary objects have their own, cheaper allowance: 2 per main object are included. A secondary object can be assigned to an apartment; it then appears automatically in that apartment's lease, rent collection and handover protocol. Without an assignment it counts as separately rented and gets its own lease.
-
5
It's faster with 📋 Paste CSV/Excel (one row per unit) or via the 📥 Import: ONE file is enough — Excel, CSV, text or PDF, for example the rent roll from your previous software. Clean tables are read directly, everything else is analysed by the AI. Before saving you see a preview in which you can correct, delete or add every row — including object type and lease start.💡 Tip: simply copy the rows from Excel and paste them into the paste field – the columns are recognised automatically.
-
6
Save. Via Open → you reach the property cockpit; 📎 Documents files documents related to the property.
Tool from launch: → To the propertiesTool from launch: → Import
Related: Allocation keys · Property cockpit